
First steps with Hosteo: set up your workspace
Once your email is confirmed, your free trial starts. The dashboard shows a Getting started panel with six steps to tick off.
Updated 14 October 2026
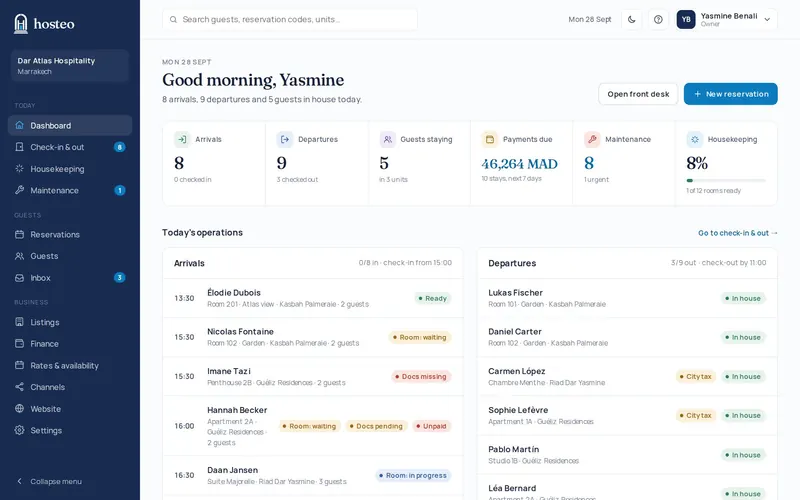
Open the “Getting started” panel
On the Dashboard, the panel reads “X of 6 done”. The owner sees it while steps remain, until someone clicks “Hide” (it then disappears for everyone).
Complete your company profile
Profile menu (top right) → Settings → Company tab. Fill in the trading name, legal name, email, phone, address and city. Under “Operations”, set the standard check-in and check-out time, timezone, currency and reservation code prefix. Click Save settings.
Create your first listing
Profile menu → Listings → New listing. See the guide “Add a listing”.
Give your listings a price and add photos
Open a listing, then the Prices and Photos tabs. A listing without a price can’t be sold on the platforms.
Invite your team
Profile menu → Team & roles. See the guide “Invite your team and choose roles”.
Create your first booking
Reservations menu → New reservation. See the guide “Create a booking”.